
OKX API Key Setup
Create an OKX API key with trading permissions for automated trading.
Before You Start
- A verified OKX account
- Funds must be in your Trading account (not Funding account)
- Two-factor authentication (2FA) enabled
Setup Steps
1
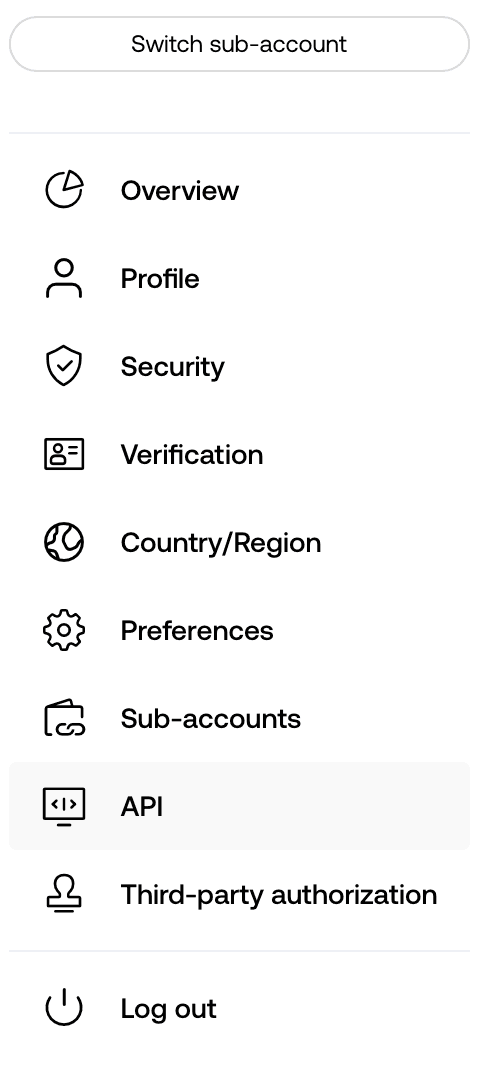
Navigate to API Management
Log in to your OKX account. Click your profile icon in the top-right corner, then select "API" from the dropdown menu to access API Management.
2
Create API Key
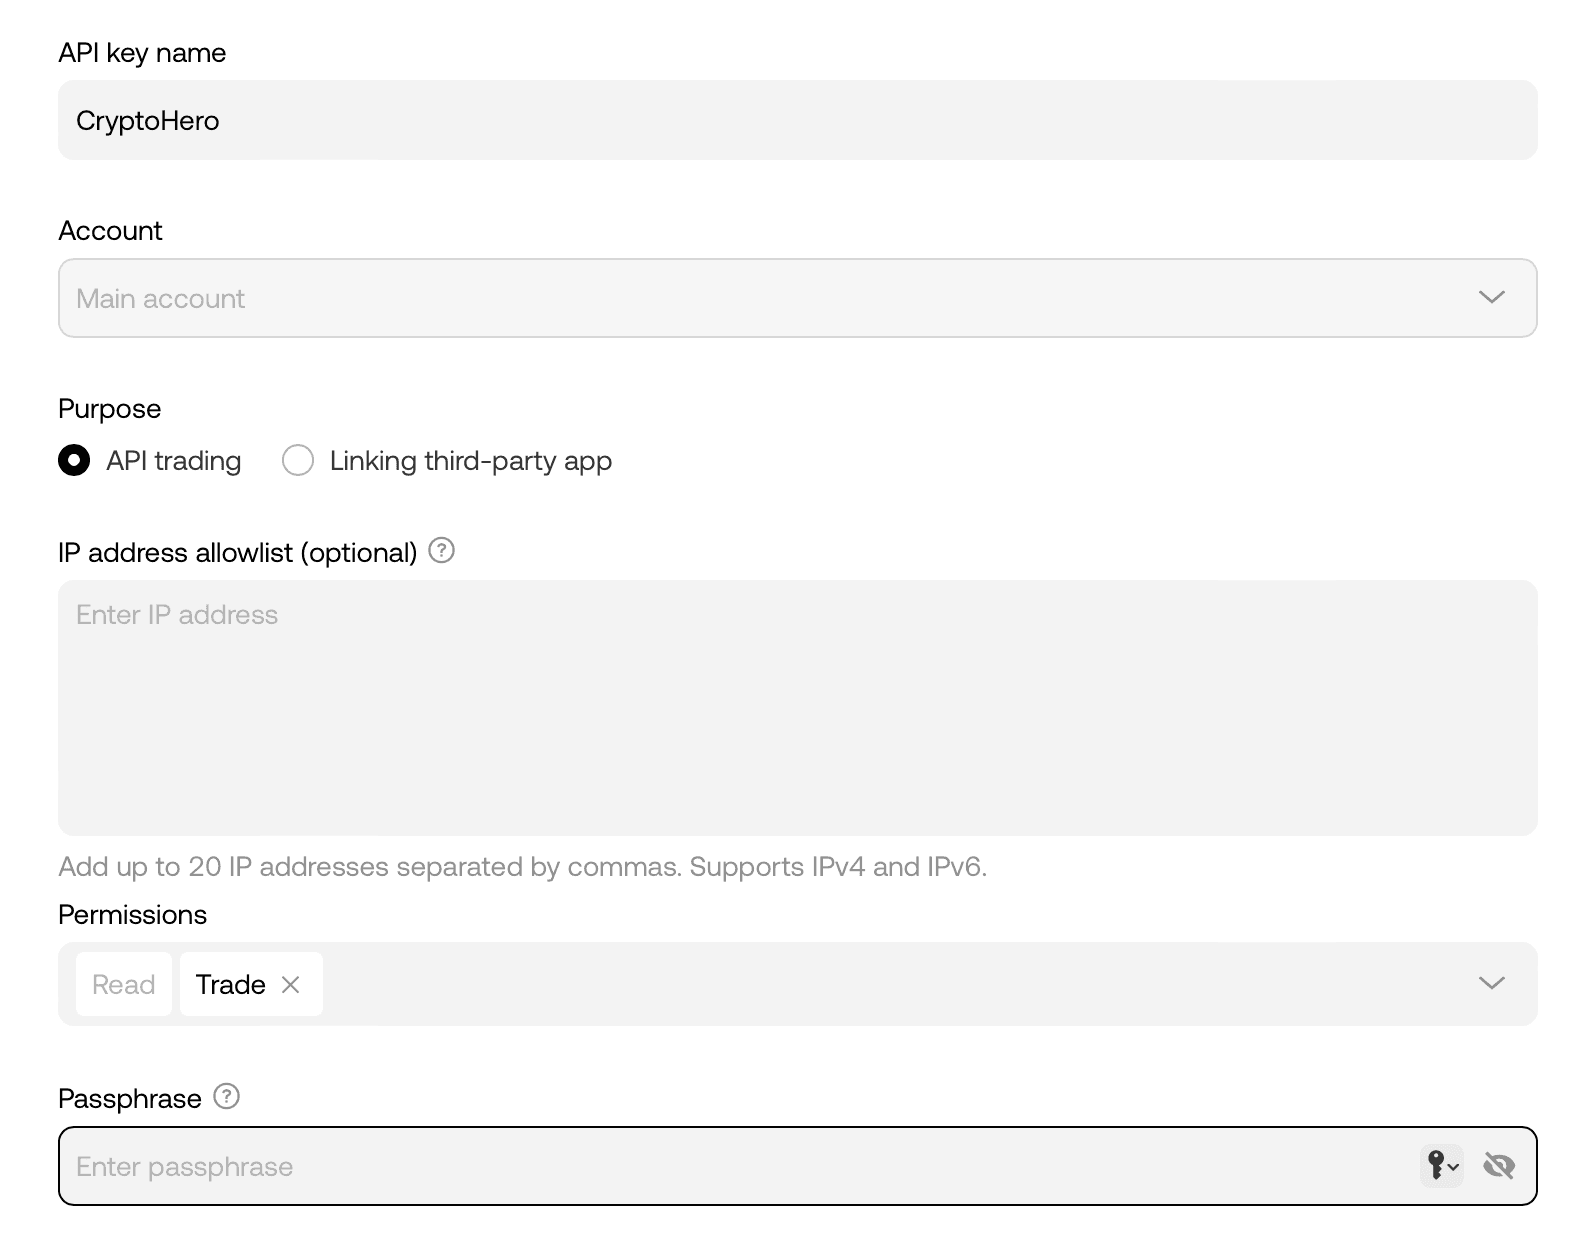
Click "Create API Key" or "Create API" button. Select "API trading" as the purpose. Enter a name for your API key (e.g., "10Quant").
3
Configure API Permissions
Set the following:
- **Passphrase**: Create a strong passphrase and remember it — you will need it along with the API key.
- **Permissions**: Check "Read" and "Trade" — DO NOT check "Withdraw"
- **IP Restriction**: Leave blank unless you have a static IP
Click "Submit All" when done.
Do NOT grant Withdraw permission. Only Read and Trade are needed for 10Quant.
4
Complete Verification
Complete the security verification using Google Authenticator code, email verification code, and/or phone SMS code as prompted.
5
View Your API Keys
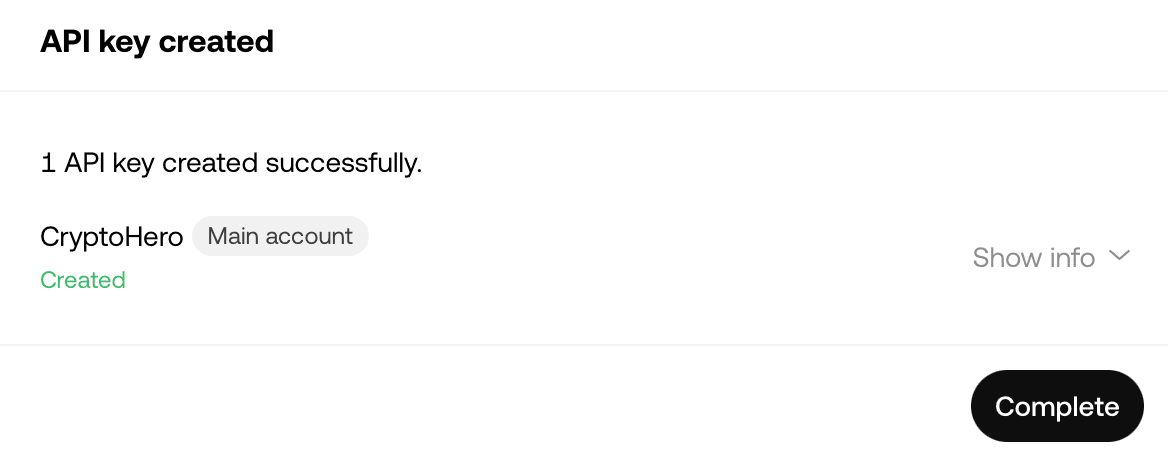
After verification, click "Show info" to reveal your API Key and Secret Key. Copy both values — the Secret Key will only be shown once. Remember to also save the Passphrase you created earlier.
6
Add API Key to 10Quant
Go to the 10Quant platform and navigate to Settings > Exchange API. Click "Add Key", select OKX as the exchange, then paste the API Key, Secret Key, and Passphrase. Click "Verify" to confirm the connection is working.
Important Warnings
- Never grant Withdraw permission to your API key.
- Remember your Passphrase — it is required along with the API Key and Secret Key.
- Make sure your funds are in the Trading account, not the Funding account.
Helpful Tips
- OKX requires the Passphrase for every API request, so keep it safe.
- You can create multiple API keys for different purposes.
- If your API key stops working, check if OKX has updated their permission policies.